WYSIWYG Editor
The WYSIWYG Editor of the HTMEditor allows you to create and edit your HTML documents easily, fast and without any programming knowledge or skills.
What is WYSIWYG?
The term WYSIWYG, which means "What you see is what you get" is a nickname for software that simulates the finished product already during its creation and editing.
HTML editors using the "WYSIWYG" method (an english acronym for "what you see is what you get") provide a visual editing interface, in which the web page is displayed in a manner similar to how it is displayed in a web browser. Because using a visual editor may not require any prior knowledge of HTML, these HTML editors are often considered more user-friendly for those who are just starting out in the web design world
This technique, which provides great convenience to the developer is fully supported by the HTMEditor.
In this tutorial we will cover the most common HTML elements of the WYSIWYG editor of the HTMEditor, then, we will create a simple document with the HTMEditor. If this is the first time you are using the WYSIWYG technique, you will find that this technique very easy to use and you will be ready to use that just as a professional within a short period of time.
Just click on the HTML component that present the element from the WYSIWYG editor toolbar the HTMEditor provides, and use it according to your needs.
The WYSIWYG Toolbar

The toolbar of the HTMEditor contains the components which present the HTML elements and they are allowing you to develop HTML documents without coding skills or knowing programming.
Just click and drag the needed component to a selected area in the document, and set it as you wish. Also, after adding an element, you can easily edit it by clicking on the area it appears on the page, then select the relevant option according to your needs.
Common Components
Here are a list of a snap desription for each common component in the toolbar:
- System Font - Set the font of the text.
- Font Size - Set the font size of the text.
- Paragraph - Set the paragraph of the font of the text.
- Align Left - Align the text to the left.
- Align Center - Align the text to the center.
- Align Right - Align the text to the right.
- Align Justify - Align the text to justify.
- Table - Add table to the document
- Undo - Go one editing step back.
- Rebo - Go one editing step forward.
- Bold - Set the text to a bold style.
- Italic - Set the text to an italic style.
- Underline - Add underline to the text.
- Strikethrough - Add Strikethrough to the text.
- Decrease Indent - Decrease indent in the page.
- Increase Indent - Increase indent in the page.
- Number list - Add list of numbers to the page.
- Bullet list - Add list of bullets to the page.
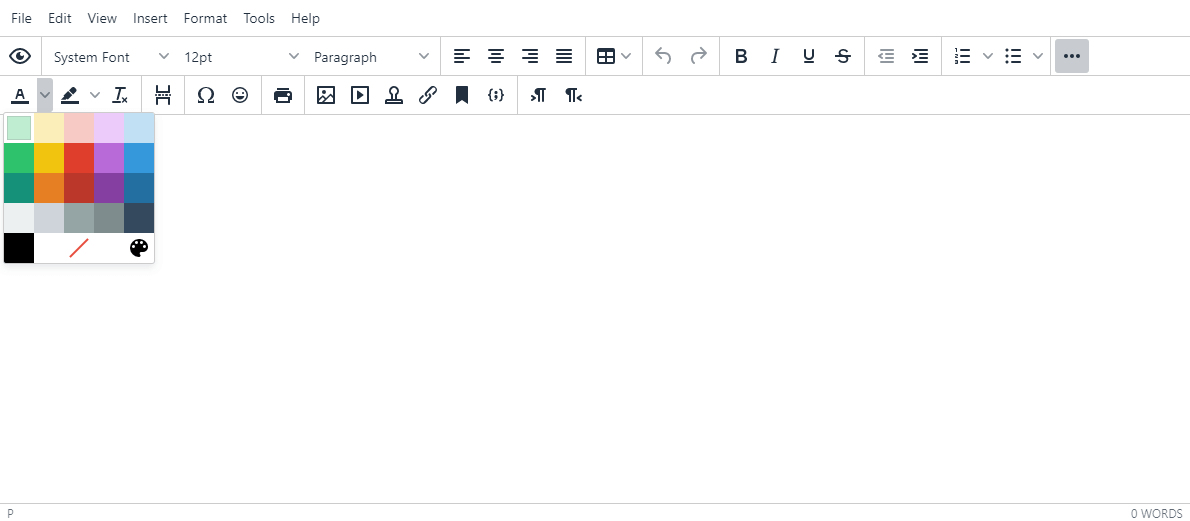
- Text color - Set the color of a text.
- Background color - Set the background color of the element.
- Clear formatting - Clear the formatting
- Special chars - Add special chars to the document.
- Emoji - Add Emoji to the document.
- Insert image - Insert or edit an image to the document.
- Insert media - Insert or edit media to the document.
- Insert link - Insert or edit a link to the document.
Feel free to play with the components of the WYSIWYG editor of the HTMEditor, add a new component, edit it and watch the results online with the Preview window (Menu:File->Preview).
Also, You can always look into the source code and change it with the Source Code window (Menu:File->Source Code).
Example
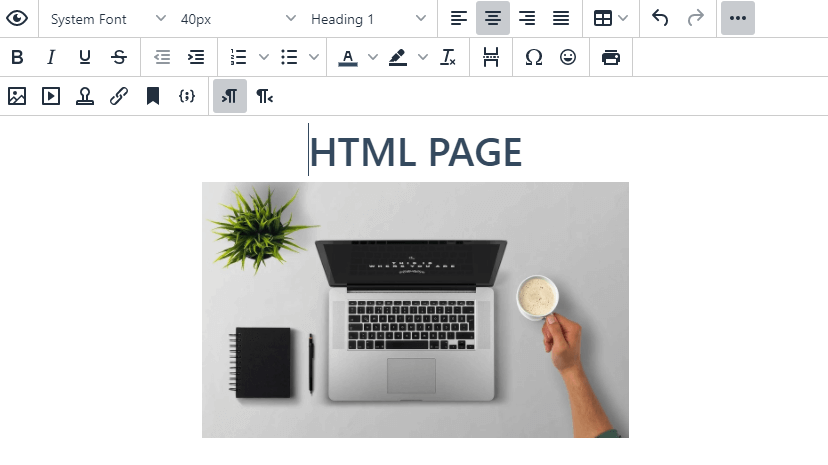
In this example we will make HTML that will display a title, image and a description text using the WYSIWYG capability of the HTMEditor.
-
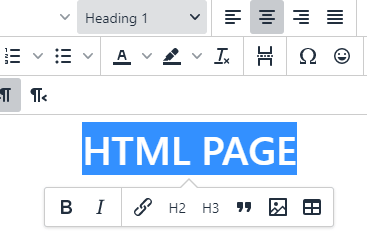
Click on the Align Center icon from the toolbar in order to display the content in the center.

- Insert the text 'HTML PAGE'.
-
Select H1 from the headline.
-
You can eadit and colorize the title as you wish.
- Now insert a new line by pressing the enter keyboard and recenter the line as described in stage 2.
-
Insert an image element to the page and set the 'Source' url of the image then click on the OK button.
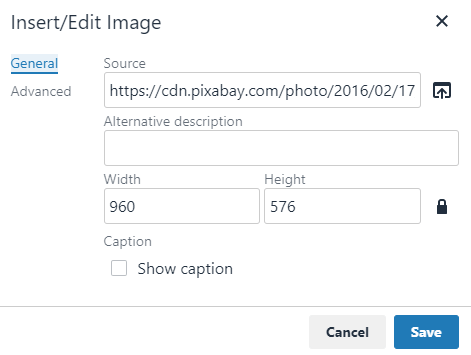 The image and any other media you want to embed in your document should be hosted online. If you want to use local images you need to use the relevant path to them.In that example we are setting the 'Source' of the image from pixabay.com.
https://cdn.pixabay.com/photo/2016/02/17/15/37/laptop-1205256_960_720.jpg -
You should see the image in the center of the document under the title. You can resize and edit it as you wish.
-
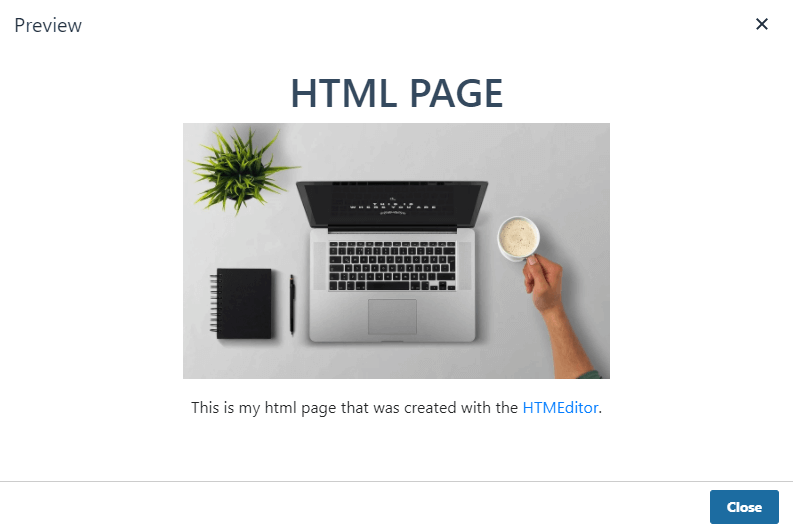
Enter a new line and insert the text:
'This is my html page that was created with the HTMEditor.' -
Now, mark the text HTMEditor and click on the 'Insert link' component.

-
The 'Insert link' window will be appear, insert the following url then click on OK:
https://htmeditor.com -
Our HTML document is ready. Now, in order to see the results in the Preview window, click on File->Preview from the menu.
That's it :)
In this tutorial we have learned about the WYSIWYG term, then we have created a simple and a basic HTML document with the WYSIWYG editor of the HTMEditor. In the next tutorials you will learn how to use the HTML editor and using the built in Bootstrap support of the HTMEditor.
In this tutorial we have learned about the WYSIWYG term, then we have created a simple and a basic HTML document with the WYSIWYG editor of the HTMEditor. In the next tutorials you will learn how to use the HTML editor and using the built in Bootstrap support of the HTMEditor.
Related Links