HTML Source Code Editor
With the HTMEditor you can create and edit your HTML files with the WYSIWYG editor or via the source code window. The Source Code window allows you to insert the HTML tags directly to the editor instead of using the WYSIWYG editor.
In this guide we will add our HTML tags directly to the 'Source Code' window of the HTML editor in order to see the results in the editor and in the 'Preview' window. Also, you can save the HTML source code to a file on your local device, so you can edit it later.
HTML Tags
Generally, the HTML tags are actually instructions that telling to the browser how to parse, format and display the content in the document, while the instructions themselves are not displayed in the browser. The tags in the HTML document are arranged in a hierarchical structure just like a tree. A standard HTML document contains a head and body. The basic HTML document structure looks like this:
<!-- HTML Page --> <html> <!-- Declear the header --> <head> <title>Title</title> </head> <!-- Declear the body --> <body> Content </body> </html> Is that simple :)
Example
Now, let's do the following stages in order to create an HTML file by adding HTML tags to the 'Source Code' window of the HTML editor.
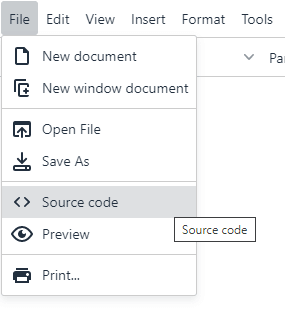
- Open the 'Source Code' window by clicking on File->Source Code.
 The Source Code window of the HTMEditor will be opened, this window allows you to insert your HTML tags directly without using the WYSIWYG editor.
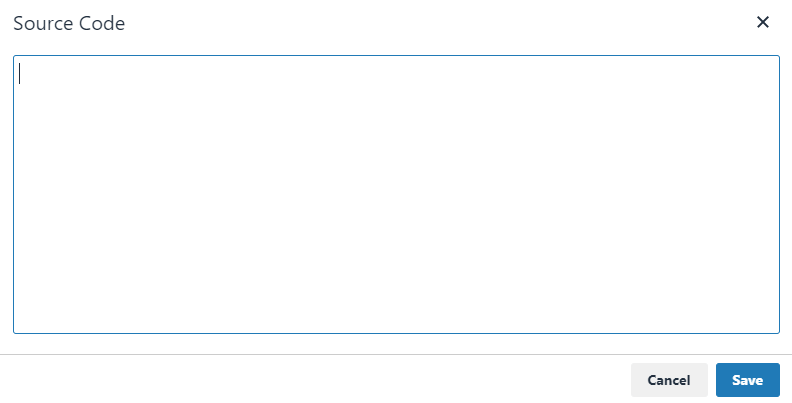
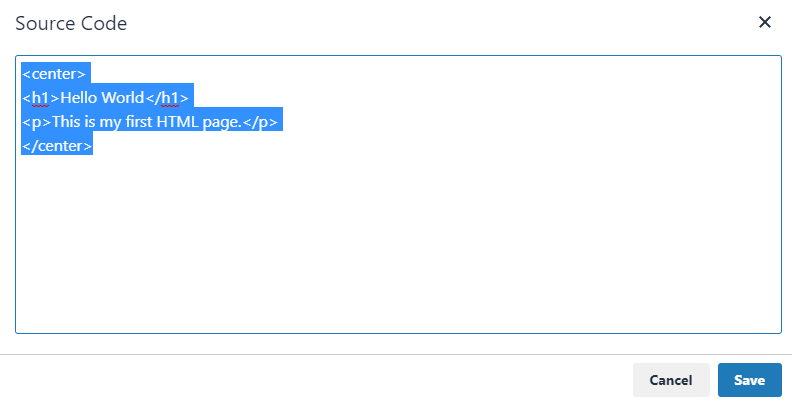
- Copy & Paste the following HTML tags to the Source Code window.
<!-- Hello World With HTML Tags --> <center> <h1>Hello World</h1> <p>This is my first HTML page.</p> </center>The Source Code window of the HTMEditor should look like: - Click on OK. Now you should see the results in the editor.
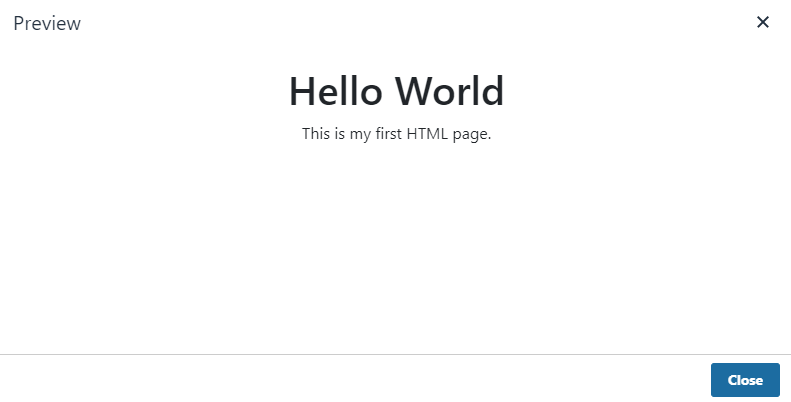
- The preview window allows you to see the results of your HTML tags just like it will look and feel in a real browser. Click on File->Preview, a new popup window should be load with preview of the code. Let's look at our HTML results in the preview window.
That's it, is that simple :)
Conclusion
In this guide we have learned how to create an HTML file with the HTMEditor. Now you can save the HTML tags to HTML file in your local device for a later editing. Click on File->Save As in the menu, a 'Save As' window will appear, set the name of the file with html or html extension. You can also open the file we have just saved with your default browser and be impressed by the results.
Related Links